How to create a photoshop artboard ( white page / new page / new document / art-board )
How To Create a Photoshop Artboard
creating a new document, creating a project page, creating an artboard
this content on this page is for how to create an artboard for your editing works in your startup of becoming an editor, and the step is very clearly explained on the page, please follow the sets carefully and start your journey.
all the steps are explained with an image if you confused, the image will help you
- To start first go to your photoshop software icon and double click it
")
- then you see a file option in it, click it ( shortcut key ctrl + new )
")
- select new, then a box will pop up, first in the name box write a to your artboard,

- then after naming your artboard, go to the preset option and choose any paper type ( A5, A4, A3, International Paper, etc )

- if you want you can even customize your paper ( artboard ) size which is the width, height, then for resolution choose 100 mostly but you can even increase it up 300,
- then the RGB mode, if you want you can even change the color of the background to any ( white ) is a common color

- after finishing the work go to the OK button and hit ok
- there you go, now you have made an artboard ( project page / new document page )
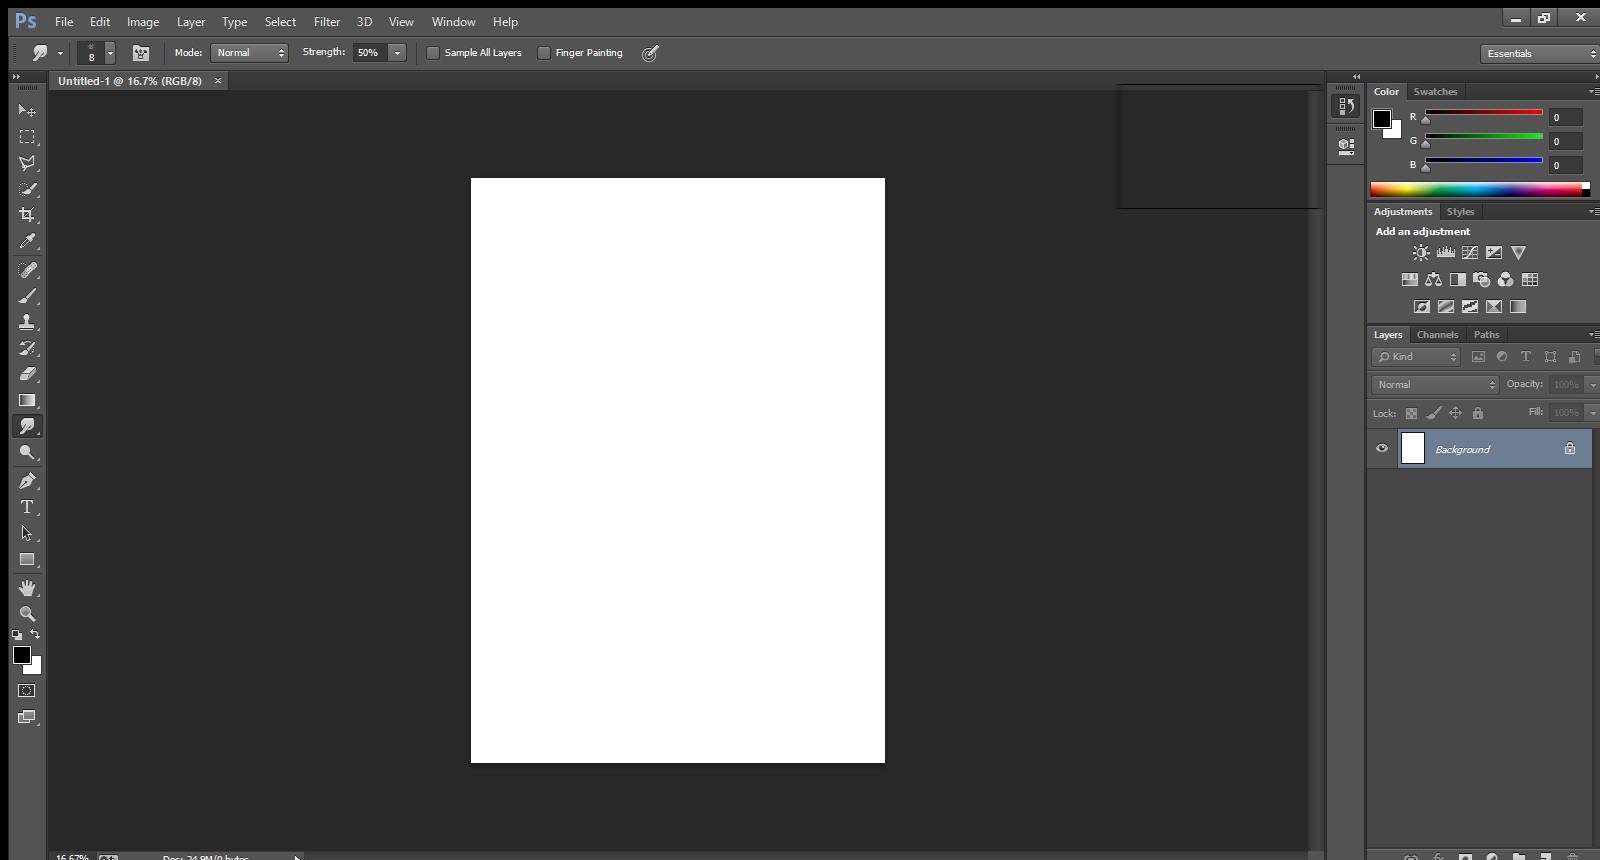
this is how you create an artboard in photoshop
I hope my way of explaining how to create a photoshop artboard was clear to you all
all the information on the page is made by hella alone, hope the content is helpful for everyone, and do enjoy yourself when your learning because learning is fun
Comments
Post a Comment